Before you start to ride your Peloton bike you need to get the seat height adjusted for your exact height. This Peloton seat height chart will give you a good estimate to what seat number your Peloton should be set at for your height.
Table of Contents
Peloton Seat Height Chart
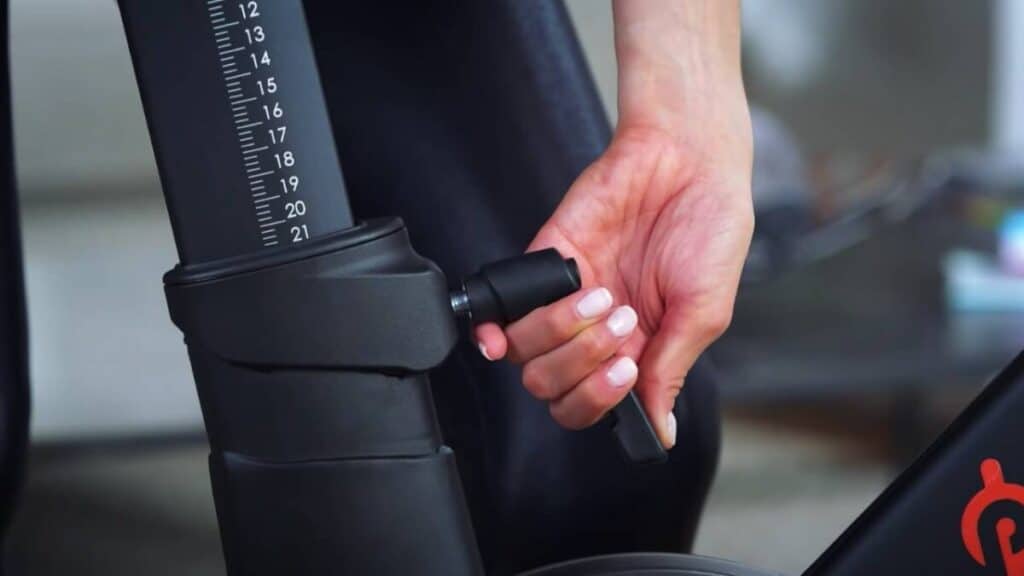
The seat post on your Peloton bike is numbered 1 to 43 and each increment is 1 cm long. Therefore, the number on your seat post should align to your height. Most people’s total leg height is around 1.1 of your entire height. Meaning your leg is approximately 55-60% of your total height.
The table below gives you an estimate of what number you should set your Peloton seat for your height. For example, if your 5’5 then your seat number should be between 9 and 10 on the Peloton seat post.
Here’s a complete Peloton seat height chart below.
| Height Feet & Inches | Height cm | Peloton Seat Height Number |
| 5 feet 3 inches | 160 cm | 7-8 |
| 5 feet 4 inches | 162 cm | 8-9 |
| 5 feet 5 inches | 165 cm | 9-10 |
| 5 feet 6 inches | 167 cm | 10-11 |
| 5 feet 7 inches | 170 cm | 11-13 |
| 5 feet 8 inches | 172 cm | 13-15 |
| 5 feet 9 inches | 175 cm | 15-17 |
| 5 feet 10 inches | 177 cm | 17-20 |
| 5 feet 11 inches | 180 cm | 20-23 |
| 6 feet 0 inches | 182 cm | 23-25 |
| 6 feet 1 inches | 185 cm | 25-28 |
| 6 feet 2 inches | 187 cm | 28-30 |
| 6 feet 3 inches | 190 cm | 30-32 |
| 6 feet 4 inches | 193 cm | 32-35 |
| 6 feet 5 inches | 195 cm | 35-37 |
How To Set Your Saddle Height on Peloton
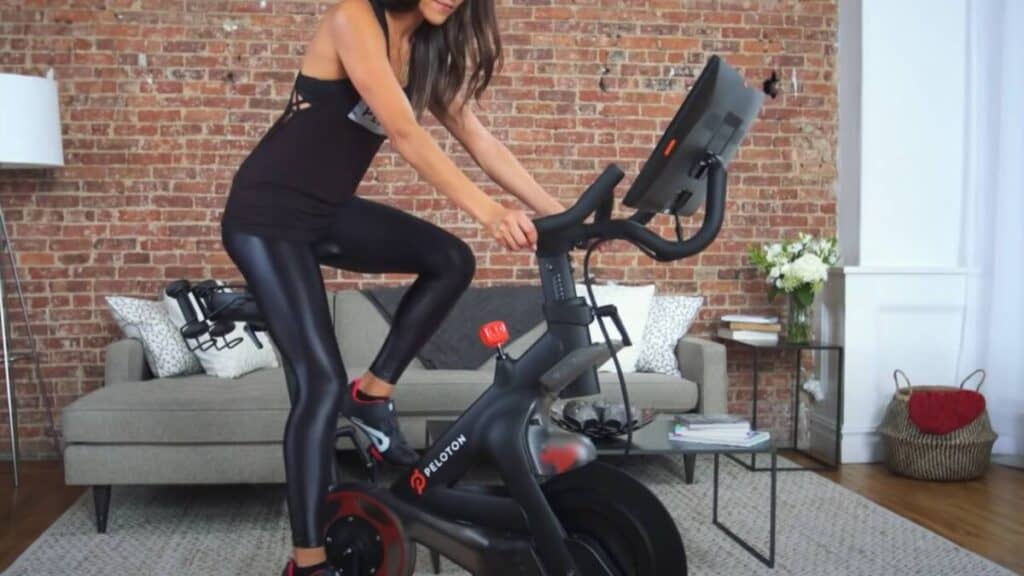
In order to set your Peloton seat height correctly, it is important to ensure that your legs are bent at a 90-degree angle while pedaling. The correct seat height will help maximise the effectiveness of your workout and make cycling comfortable.
Step 1: Adjusting Your Seat Position
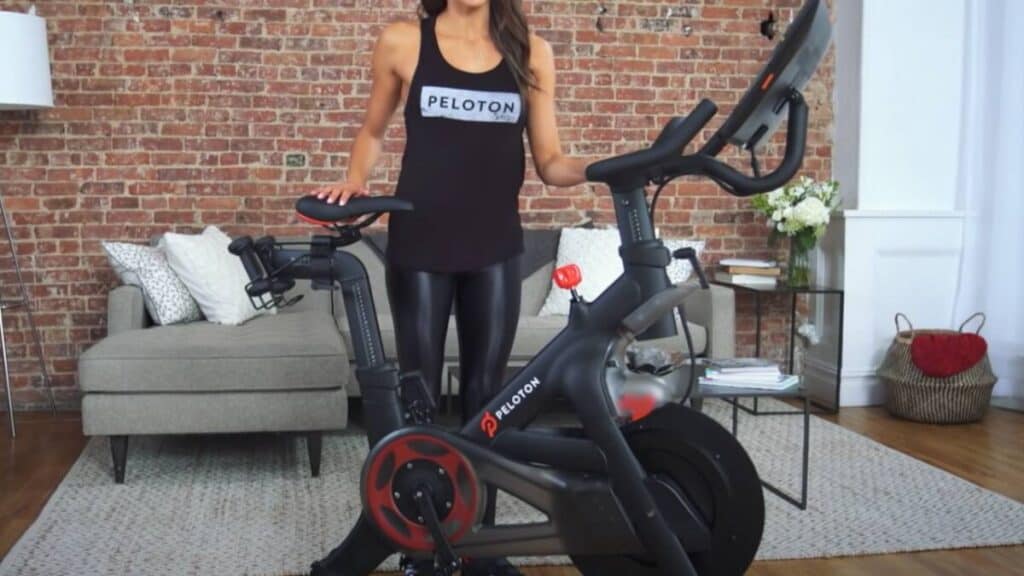
To adjust the seat height on a Peloton bike, begin by loosening the bar located beneath the seat and sliding it up or down. Make sure that your feet are flat on the pedals before adjusting the seat height.
You want the top of the Peloton bike seat to be aligned to your hip bone. Make sure you don’t have your Peloton shoes on. It’s best to do this with socks or in bear feet.
Step 2: Legs at a 90-Degree Angle
Next, step onto the bike and begin pedaling while keeping your legs at a 90-degree angle. If you find that your legs are almost straight, then you may need to raise the seat a bit. If your legs are bent more than 90 degrees, then lower the seat.
Once you’ve adjusted the seat height to a comfortable level, tighten the bar back into place. Make sure that you don’t over-tighten it or else you may risk damaging the bike or causing an injury.
Step 3: Adjust Your Saddle Depth
Loosen the lever below your seat by turning it to the lefthand slide the seat into the correct position, then tighten the lever.
If you’re unsure where to start with adjusting your seat depth, begin by placing the seat in the centre which is either E or F. You can also find a the right seat starting point by putting your elbow on the edge of the seat and pushing it forward until your fingertips touch the handlebars.
Remember that you can always adjust settings for optimal comfort after a few rides. But a good rule is the shorter you are the closer to A your setting will be.
Check your seat height before each workout session to ensure that you’re cycling in the best position for maximum performance and comfort. With some practice, you’ll be able to find your ideal Peloton seat height quickly and efficiently.
Optimising Peloton Seat Height
Measuring Ideal Seat Height
To achieve the best performance and reduce the risk of injury, it’s crucial to find your ideal Peloton seat height. Start by placing your heel on the pedal, with your leg fully extended at the bottom of the pedal stroke. In this position, your hip bone should be parallel to the ground, and you should feel a slight bend in your knee when your foot is flat on the pedal.
Here’s a simple step-by-step process to measure your ideal saddle height:
- Stand against a wall: Remove your shoes and place your feet shoulder-width apart.
- Find your hip bone: Locate the bony protrusion at the side of your hip and mark its highest point with a piece of tape.
- Measure your inseam: While keeping a book or a ruler pressed firmly against the wall, place it between your legs to simulate the saddle. Measure the distance from the floor to the top edge of the book/ruler.
To find your saddle height:
- Multiply your inseam measurement by 0.883
- Add the resulting value to the height of your Peloton’s crank arm center (typically around 290mm)
Adjusting Seat Height Mechanism
After determining your optimal seat height, it’s time to adjust your Peloton’s seat post. Follow these steps:
- Locate the lever: Identify the mechanism responsible for adjusting seat height – it’s usually a clamshell-style clamp or a lever found at the base of the saddle.
- Loosen the lever: Turn the lever counterclockwise to loosen the clamp.
- Adjust the seat post: Slide the seat post up or down to reach your desired saddle height. Be cautious not to go past the maximum height indicator on the seat post.
- Retighten the lever: Once you have achieved your ideal height, securely tighten the lever by turning it clockwise. Ensure the seat remains level and doesn’t wobble.
Now that you’ve optimized your Peloton seat height, you’re set for a comfortable, efficient, and enjoyable workout experience.
Peloton Handlebar Height
Handlebar Height Adjustment
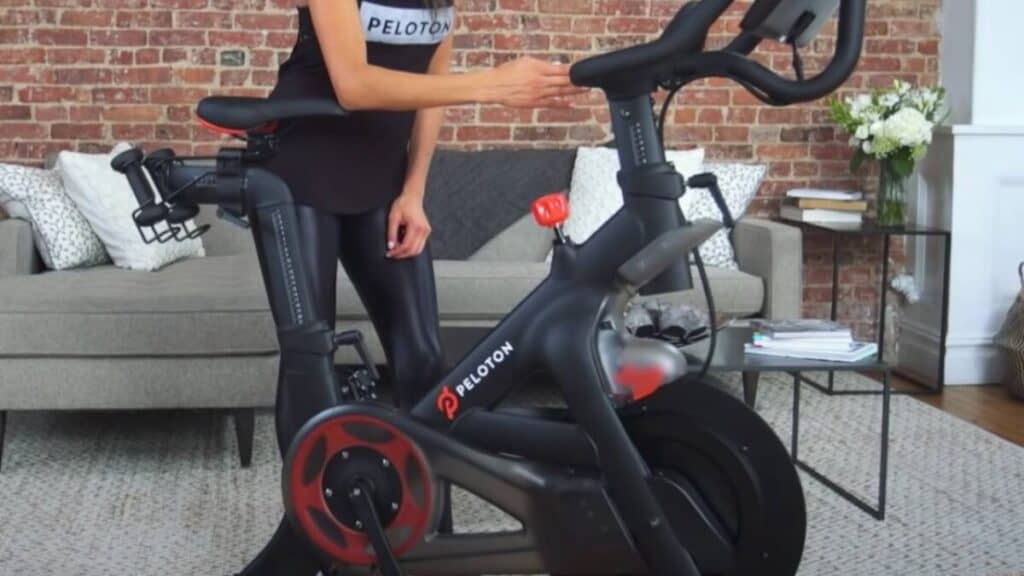
Adjusting your Peloton handlebar height correctly ensures optimal comfort during your workouts. To find the ideal height, start by standing next to your bike and adjusting the handlebars so they align with your hip bone. When seated, ensure your elbows are slightly bent when holding the handlebars.
- Unlock the handlebar adjustment lever, located below the handlebars.
- Lift or lower the handlebars to the desired height.
- Lock the lever back in place, making sure the handlebars are secure.
It’s important to note that everyone’s comfort levels will vary, so take time to find the position that works best for you.
Distance Between Seat and Handlebars
Maintaining the right distance between the seat and the handlebars can prevent strain on your back, shoulders, and neck. First, ensure your seat height is adjusted properly. Next, follow these steps to measure the appropriate distance between the seat and the handlebars:
- Sit on the bike seat with your hands on the handlebars.
- Your knees should be slightly bent when your feet are at the lowest point on the pedals.
- Ensure there is a 90-degree angle at your elbow with your hands resting on the handlebars.
| Measurement factors | Ideal Position |
|---|---|
| Seat height | Aligns with hip bone |
| Handlebar height | Aligns with hip bone and allows for slightly bent elbows |
| Distance between seat and handlebars | 90-degree angle at elbows with hands on handlebars |
Remember, your comfort levels may differ from others, so it’s crucial to make adjustments until you find the positioning that works best for your body. By setting up your Peloton bike with the correct handlebar height and distance between the seat and the handlebars, you’ll be able to enjoy your workouts without discomfort or strain on your body.
Physical Alignment on the Peloton
When using a Peloton, it’s crucial to achieve proper physical alignment to ensure a comfortable and effective workout. In this section, we will focus on two key subsections: Knee and Pedal Alignment, and Hip and Ankle Positioning.
Knee and Pedal Alignment
Knee alignment plays a critical role in finding the ideal Peloton seat height. To determine the proper alignment:
- Sit on the saddle with your feet placed on the pedals.
- Pedal to the lowest point of the pedal stroke, ensuring that one foot is in the 6 o’clock position.
- In this position, your knee should have a slight bend of about 25-35 degrees.
- Ensure the ball of your foot is centered on the pedal to promote even distribution of force during the pedal stroke.
If your knee is too bent, raise the seat height. Conversely, if your knee is straight or overextended, lower the seat height.
Hip and Ankle Positioning
Proper hip and ankle positioning helps maximize your power output and minimize the risk of injuries. To achieve the correct alignment:
- Adjust the seat fore and aft so that, when both pedals are at the same height (the 3 o’clock and 9 o’clock positions), your knees are directly above the center of the pedals.
- In this position, there should be a 90-degree angle between your thigh and lower leg.
- Observe your ankle positioning throughout the pedal stroke, aiming for a relatively neutral position where the foot is neither too flexed nor too extended.
By mastering these key aspects of the physical alignment on the Peloton, you will be able to experience a more comfortable and better performing cycling session.
Peloton Experience: Seat Comfort

Selecting the Right Saddle
Your comfort level during a Peloton workout significantly depends on choosing the right saddle. Selecting the ideal saddle is crucial for achieving optimal comfort during exercise. To assess the appropriate saddle for your needs, here are some essential factors to consider:
- Shape: A saddle with a shape that matches your body and riding style ensures more comfort and reduces pressure on sensitive areas.
- Width: Selecting a saddle with the proper width for your sit bones helps distribute your weight evenly and reduce pressure.
- Padding: Your choice of padding should suit your duration and intensity of workouts. Firmer padding is usually preferred for longer workouts, while softer padding works well for shorter rides.
Making Minor Seat Adjustments
Once you choose the right saddle, you can further enhance your comfort by making minor adjustments to your Peloton seat. Follow these steps to fine-tune your seat position:
- Adjust the seat height: Align your hip with the seat and observe the position of the knobs. Ensure that they’re centered before you re-tighten the adjustment knob. Your leg should have a slight bend at the bottom of the pedal stroke.
- Shift the seat forward or backward: Adjust the seat’s horizontal position until your kneecap levels with the pedal spindle when the pedal is at the 3 o’clock position. Use the knobs to maintain this position by tightening them once optimal alignment is achieved.
- Modify the seat angle: Adjust the nose of the saddle to a slightly upward or downward angle. Make sure it remains level enough to maintain balance and prevent unwanted pressure on sensitive areas.
In conclusion, both selecting the right saddle and making minor seat adjustments play a significant role in ensuring comfort during your Peloton experience. Stay mindful of these suggestions, and you are more likely to have comfortable and enjoyable workouts on your Peloton bike.
Maximising Performance: Adjusting Peloton

Optimal Leg Extension
To achieve the best performance on your Peloton, it’s essential to find the optimal leg extension. This will not only ensure more efficient power output but also help in preventing injuries. Follow these steps to determine the ideal seat height for you:
- Sit on the saddle with one foot resting on the pedal at the lowest point (6 o’clock position).
- Your leg should have a slight bend in the knee – around 25 to 35 degrees. Avoid having a completely straight leg, as this can strain your knees.
- Adjust the seat height until you find this optimal position.
Remember that achieving the perfect leg extension will improve your power and performance during every ride.
Stability and Power Transfer
To efficiently transfer power from your legs to the pedals, focus on maintaining a stable position on the bike. This stability ensures a smooth, consistent pedaling motion, resulting in increased performance. Here are some essential points to consider:
- Saddle Tilt: Adjust the tilt of your saddle to create a comfortable, stable seat. A level or slightly downward tilt can reduce pressure on sensitive areas and help maintain balance.
- Saddle Fore/Aft Position: Fine-tune your saddle’s position forwards or backwards to ensure optimal alignment of your knees above the pedals. This alignment allows for better power transfer while avoiding unnecessary stress on knee joints.
- Handlebar Height: Set the handlebar height based on your personal preference and flexibility. A higher handlebar position can provide more stability and comfort, while a lower position may facilitate a more aggressive, performance-oriented posture.
Keep in mind that your ideal setup may differ from someone else’s, so take the time to make adjustments according to your own body and preferences. Properly adjusting your Peloton will enhance your performance and overall riding experience.
Troubleshooting Common Peloton Saddle Issues

Dealing with Back Pain
When experiencing back pain during your Peloton workouts, it’s crucial to adjust your seat height for a more comfortable ride. Follow these steps:
- Stand next to your bike with your hips level with the seat.
- Adjust the seat post so it aligns with the top of your hip bone.
- Tighten the seat post clamp to secure the seat at the desired height.
Remember, everyone has unique body dimensions and limitations, so it’s essential to find the optimal seat height for you. Reassess your bike setup periodically to ensure you maintain proper alignment and support.
Correcting Improper Leg Length
Incorrect seat height puts strain on your knees, which may result in discomfort or injury. To make sure your leg length is properly proportioned, use this quick test:
- Sit on the bike with your heels resting on the pedals in their lowest position (6 o’clock).
- Extend your legs. If your knees are slightly bent (25-35 degree angle), the seat height is correct.
- If your knees are fully extended or you have to tilt your hips to reach the pedals, adjust the seat height accordingly.
It is worth mentioning that some individuals may have different leg lengths, which can affect their overall comfort and performance on a Peloton bike. In such cases, a professional bike fit or consultation with a physiotherapist can provide more personalized adjustments and solutions.
Maintenance and Safety For Peloton

Regular Seat Inspection
To ensure your Peloton bike remains safe and comfortable, it’s essential to conduct regular seat inspections. At least once a month, take a moment to thoroughly examine your bike’s seat. Focus on key aspects such as the seat cushion, connections, and screws. By doing so, you can identify any signs of wear and tear early on, preventing potential accidents.
Maintain a routine inspection checklist to streamline the process:
- Check the seat cushion for signs of damage, such as tears or cushion breakdown.
- Confirm the seat connections are secure and free of rust.
- Inspect screws and bolts for any loosening or corrosion.
If you notice any issues, address them immediately to keep your Peloton bike in top condition.
Securing the Seat Post Safely
When adjusting the Peloton seat height, it’s crucial to secure the seat post safely. Follow these simple steps to ensure your seat remains firmly in place:
- Locate the seat post adjustment knob and loosen it.
- Move the seat post to your desired height.
- Align the seat post with the confirmation markings on the bike frame.
- Tighten the adjustment knob, making sure it’s firmly secure.
- Perform a safety check, ensuring there is no wobble in the seat.
By doing this, you can reduce the risk of seat malfunctions and ride with confidence. Always remember that proper maintenance and safety measures are essential for an enjoyable and injury-free Peloton experience.
Frequently Asked Questions

How can I properly adjust my Peloton bike seat for my height?
To adjust your Peloton bike seat for your height:
- Stand next to your bike and place your elbow on the saddle.
- Adjust the height so that your fingertips reach the center of the handlebar.
- Check by sitting on the saddle while placing your feet flat on the frame, ensuring you have a slight bend in your knees.
What are the guidelines for setting my Peloton handlebar height?
Setting your Peloton handlebar height:
- Start with a level handlebar or slightly above the saddle height.
- Consider keeping the handlebars higher if you’re new to cycling or have back issues.
- Adjust according to your comfort, keeping in mind maintaining a neutral spine and avoiding excessive wrist or shoulder pressure.
What is the recommended ceiling height for safely using a Peloton bike?
The recommended ceiling height for using a Peloton bike is at least 8 feet. This height provides enough headroom for users intending to stand while riding and comfortably accommodate the bike and various user heights.
How to resolve discomfort while riding my Peloton bike?
Resolving discomfort on your Peloton bike involves:
- Ensuring proper bike setup: seat height, handlebar height, and seat distance.
- Wearing padded cycling shorts.
- Gradually increasing ride duration and intensity to build strength and endurance.
- Taking breaks when needed and practicing good posture.
- Seeing a professional bike fitter for personalized adjustments may also help.
Is there a minimum user height requirement for comfortable Peloton bike use?
Yes, Peloton recommends a minimum user height of 4’11” (150 cm) for comfortable bike use. This suggestion is based on the bike’s adjustability and intended to ensure proper reach of the bike’s features and safety during use.
Are there specific seat height adjustments for short or tall Peloton riders?
While there are no specific seat height adjustments for short or tall riders, it’s essential to follow the guidelines for proper seat adjustment and paying attention to individual comfort. To ensure a comfortable riding experience, fine-tune the height based on personal preferences and considerations for factors like leg extension, hip angle, and reaching handlebars with ease.
Q: How do I know if my seat height is correct?
A: The best way to check your seat height is to make sure that your legs are at a 90-degree angle while pedaling. If your legs are almost straight, then you may need to raise the seat. If your legs are bent more than 90 degrees, then lower the seat.
Q: How often should I check my seat height?
A: It is important to make sure that your Peloton seat height is correct before each workout session. This will help maximise the effectiveness of your workout and keep you comfortable while cycling. With some practice, you should be able to find your ideal Peloton seat height quickly and efficiently.
Q: What should I do if my Peloton seat is uncomfortable?
A: If your Peloton seat is uncomfortable, make sure that you first adjust the height and depth of the seat. Additionally, add a cushion or towel for extra comfort. Also check to make sure that your pedals are at the correct angle and if you’re having trouble reaching the handlebars, adjust the handlebar height. If those adjustments don’t help, consider getting a different seat or trying out different saddle options to find what works best for you.
Q: What are some tips for keeping my Peloton seat in good condition?
A: To keep your Peloton seat in good condition, make sure to clean it regularly with a soft cloth and mild detergent. Additionally, use a leather conditioner or protectant on the seat to help keep it from cracking or fading over time. Finally, store your Peloton bike in an area that is not exposed to direct sunlight as this can damage the seat. With these tips, you can keep your Peloton seat looking and feeling great for many rides to come.
Peloton Seat Height Summary
Hopefully my Peloton Seat Height chart will help you estimate what number your seat post needs to be set at for your height. Everyone is different so your total height might not determine your seat height position on the Peloton bike. The best way to set your seat height on your Peloton is to stand next to your Peloton seat and adjust it up or down until the saddle is aligned to your hip.